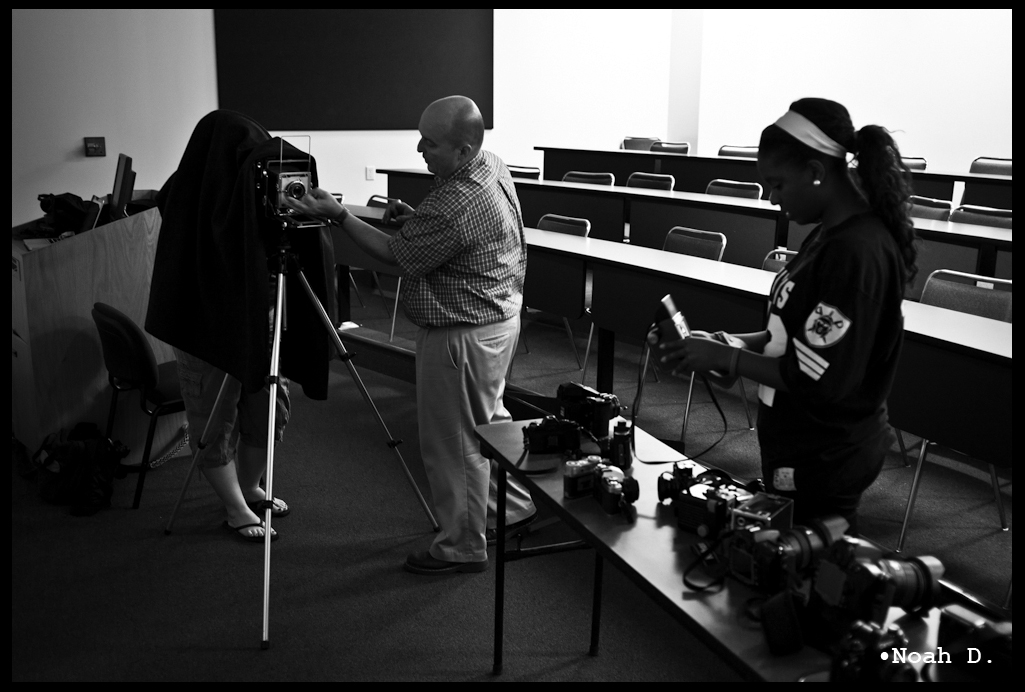
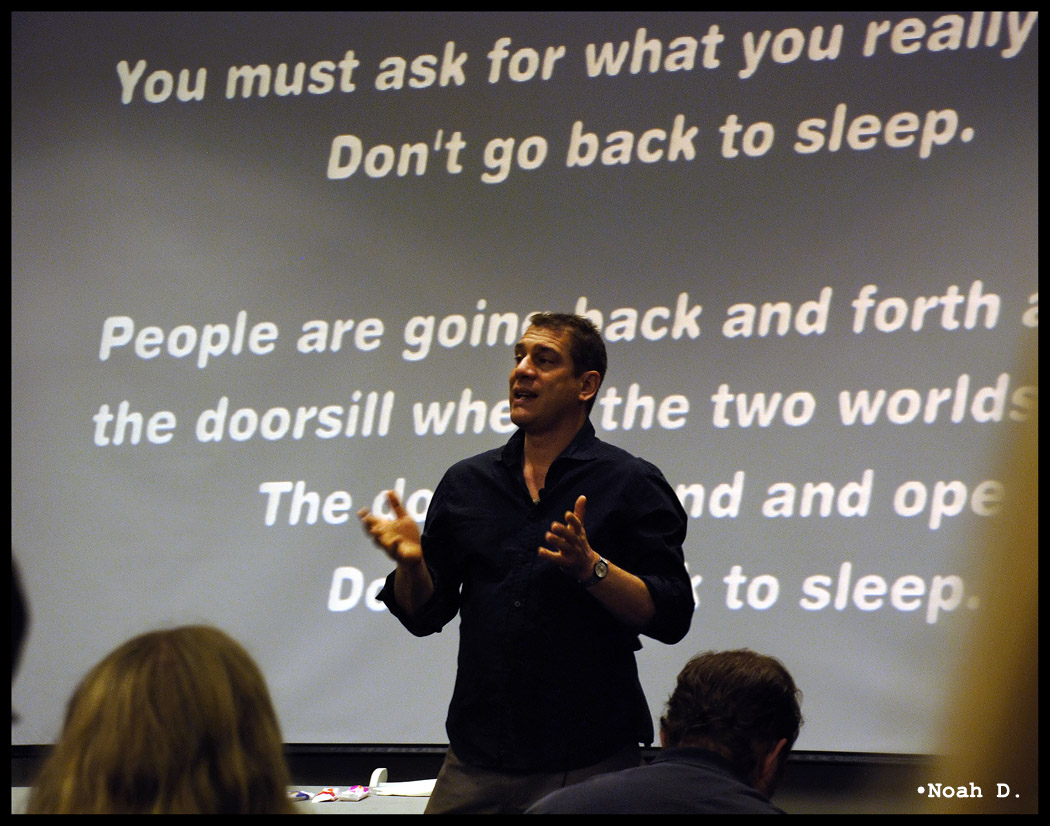
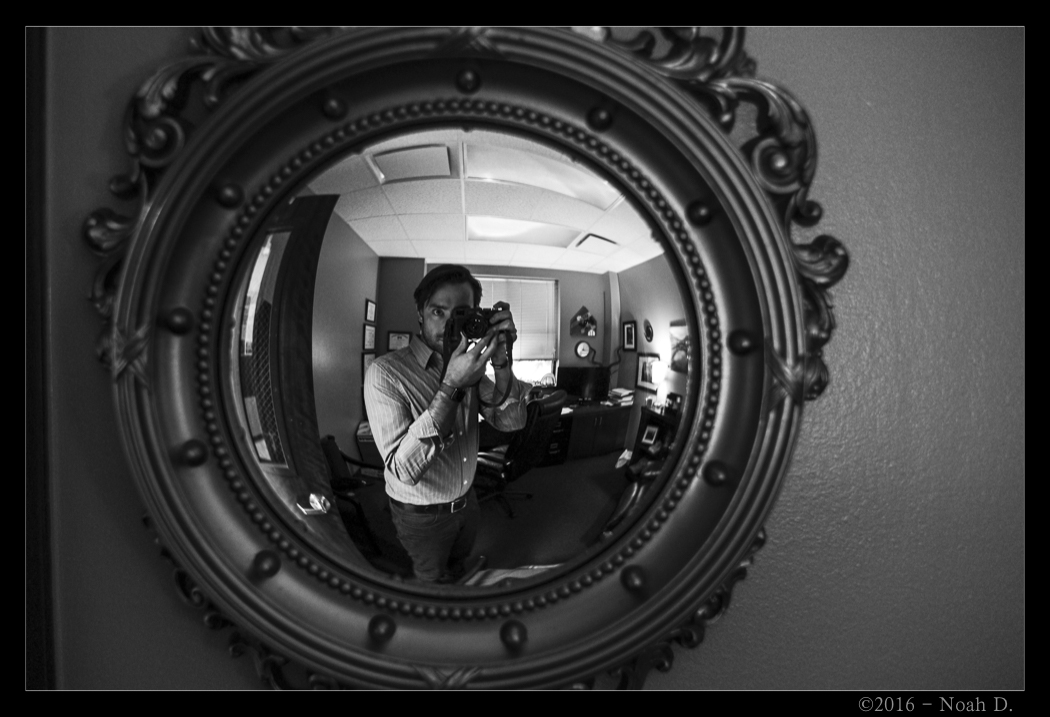
Many times people have asked me: “Why does your black and white look so different?”
Okay, honestly, because I don’t use “black and white.” And, I don’t use Photoshop.
I love black and white. Its the way I see. Not colorblind, but I see more in lights and tones and patterns and textures and other things that color sometimes will actually detract from.
So, I use film response curves. Because I know what real-world films I actually like to use – lots of Ilford Delta’s, Agfa (if I can find it) and a little Kodak and Fuji. And to get those, I use Nik Software’s Silver Efex Pro or presets in Lightroom3. I almost almost never ever use Photoshop. Its amazing that someone actually sat down and analyzed all the different films and the way they work in loads of different situations.
Take a look at this…
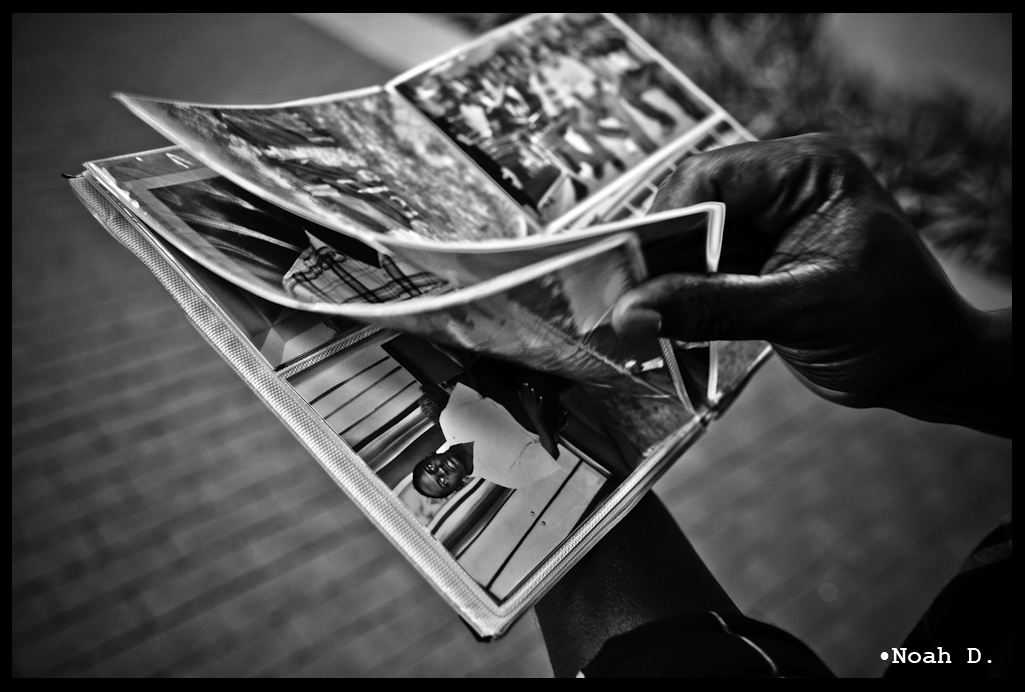 Same photo processed two different ways.
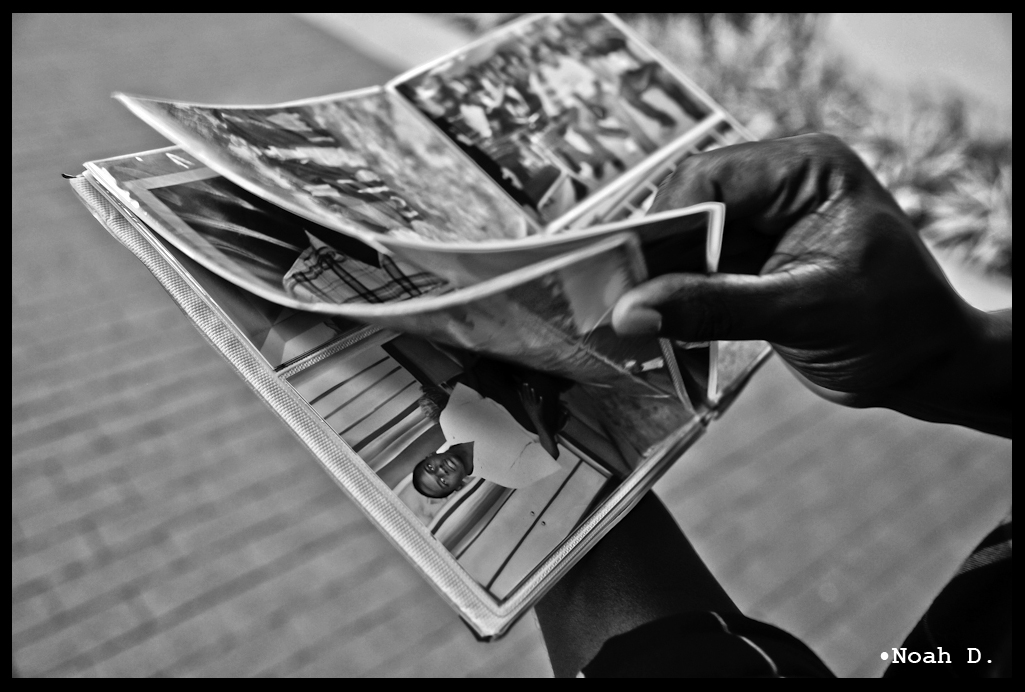 Now, besides the vignetting correction turned on in the bottom image – yes, the original image has more vignetting – what does is a “film response curve” and what does it actually do?
Look at the highlights and the shadows. Look at the depth of them, how fast a light area becomes a dark area, the transitions from grey to grey-er or less grey. Also, film response curves deal with contrast and sharpness – some don’t agree, but I’m a firm believer that an image can be sharper or less sharp due to the type of film used. That’s regardless of the amount of grain – which film presets deal with that, too.
Take a look at some of the aspects of this image. The shadow behind his thumb. These shadows are blocked up, but one has more detail and a faster, harder transition. Also, the boy in the photograph: the dark areas on either side of his head are significantly harsher in one photograph than the other.
One other significant thing to mention: color conversion to black and white is different depending on the image and the color in that image. The top image only has a slight amount of vignetting in the color version. But, because of the film preset I used, the red bricks and green grass show up significantly darker. In the lower photograph, colors are rendered brighter and less contrasty. The stripes on the wall behind the boy in the photo album are another example.
It may be splitting hairs, but it does have a different “look” than stripping to grayscale. Any thing is better than that.
Anyways, such is black and white photography. It is not “Convert to Grayscale…” and let it ride. That looks like – no offense, but – a hot mess. Do that with a portrait of a woman with red lipstick on and you’ll never do it again!
But then again, maybe I’m just being a rabid purist.
Stay tuned…
-Noah D.

